

Acrylic Shell For W1209 Price in pakistan
Acrylic Shell For W1209 DC 12V -50 to +110 Temperature Control Switch Thermostat Thermometer | Microsolution Lahore
![]()

[happyforms id=”5763″ /]
₨150
CompareAcrylic Shell For W1209 DC 12V -50 to +110 Temperature Control Switch Thermostat Thermometer | Lahore
Acrylic Shell For W1209 DC 12V -50 to +110 Temperature Control Switch Thermostat Thermometer
Related products
-
All MIcroSolution Pro, SENSORS
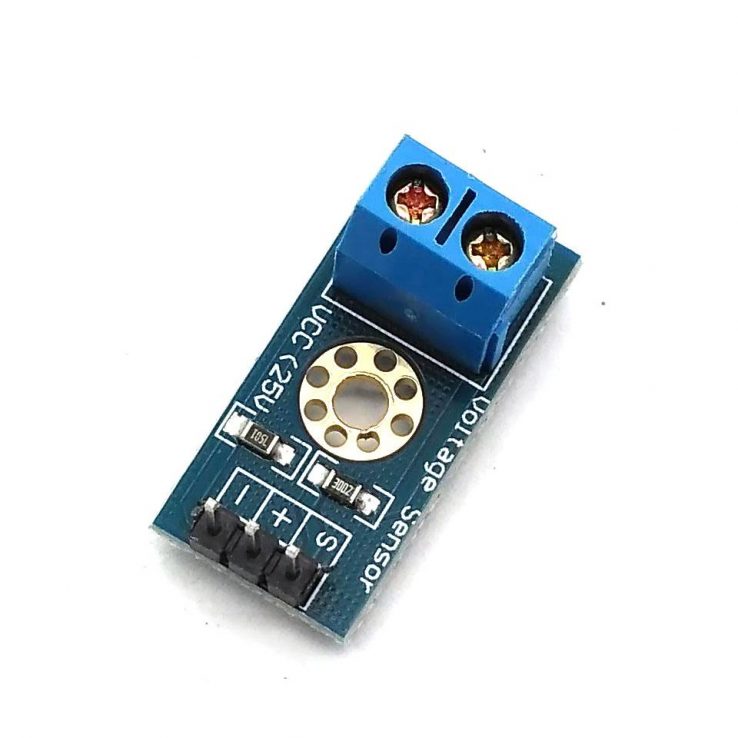
Voltage Sensor Module DC 0-25V | Microsolution
Voltage Sensor For Arduino DC Raspberry Pi Amplifier Digital Current DC0-25V With Code.

Voltage Sensor Module DC 0-25V
The Voltage Sensor Module DC 0-25V is making this is because I couldn’t find any really helpful information on how to fix the code for my voltage sensor. Arduino’s have built in voltage sensors. Unfortunately, they only support voltages of 0-5 V. This module allows you to measure voltages of 0-25 V by presenting a lower voltage to the arduino for measuring.
After you have this value you simply feed it through some math and you get your actual voltage. Don’t ask me how this math works. I don’t know. If you do know however, please share. I’m really just editing the example code from the seller so that it will display decimal values instead far less useful int values.
By liking Our Facebook Page Embeded Studio , you can get special discount. Data Sheet of Voltage Sensor Module DC 0-25V can be also downloaded from the link.
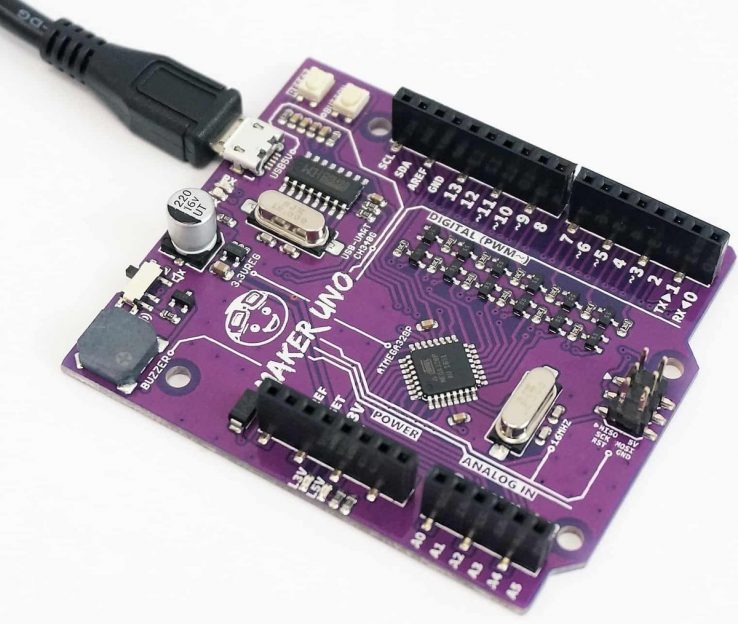
To start you need to wire it up. It’s extremely easy as it only needs 3 wires.
Plug + into 5 V, – ground and S into an analogue pin. I have removed all but the relevant pins in a pin-out of the arduino nano. If you’re using another model then you’ll have to figure them out on your own. Any analogue pin will do. As far as I am aware at least. Once you have done this you’re ready to move on to the software.
- GND – This is where you connect the low side of the voltage you are measuring. Caution! : This is the same electrical point as your Arduino ground.
- VCC: The is where you connect the high side of the voltage you are measuring
- S: This connects to your Arduino analog input.
- – (or minus): This connects to your Arduino ground.
- +: This is not connected. It does absolutely nothing… zilch… nada… jack diddly doo doo.
[happyforms id=”5763″ /]
SKU: n/a -
All MIcroSolution Pro, SENSORS
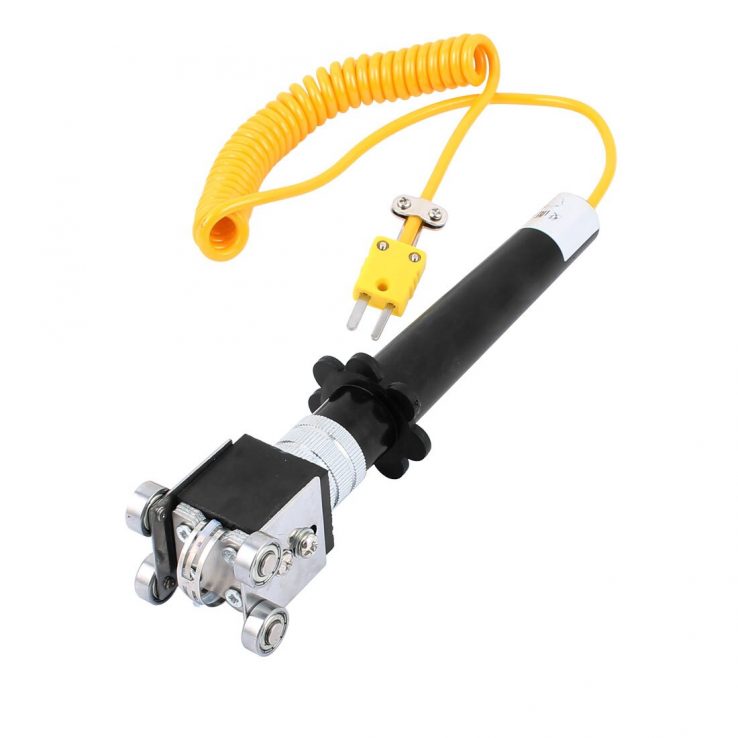
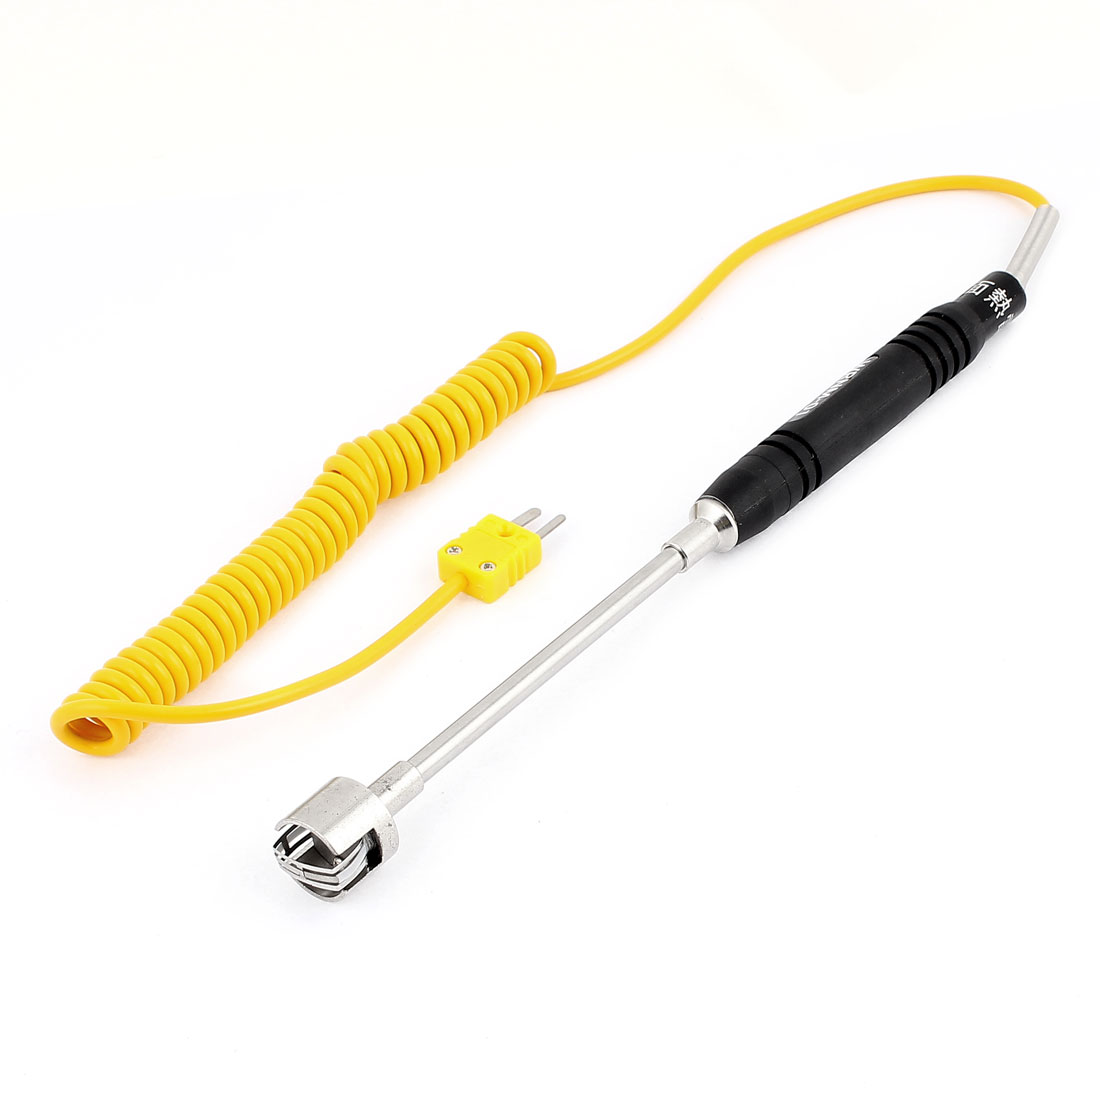
WRNM-02 K type Surface Thermocouple Ebow Shape Probe Thermocouple | Microsolution
 All MIcroSolution Pro, SENSORS
WRNM-02 K type Surface Thermocouple Ebow Shape Probe Thermocouple | Microsolution
WRNM-02 K type Surface Thermocouple Ebow Shape Probe Thermocouple 0-900 Degrees Ceilsius with Thermocouple Extension Wire.
Item specifics:
- Model Number: k
- Output Type: mV
- DIY Supplies: Electrical
- Thermocouple: K
- Response: less than 0.4 second
- type: nichrome-nisiloy
- temperature range: 0-900 degrees ceilsius
- join: handheld
- is_customized: Yes
- package: 1 x WRNM-02 K type Surface Thermocouple
[happyforms id=”5763″ /]
SKU: n/a -
All MIcroSolution Pro, SENSORS
8 Sensor Line Following Array in Lahore | MIcrosolution
Sensor Line Following Array in Lahore.
Setting the Jumpers
The array has two configurable options: I2C address and I2C pull-up voltage.
I2C address
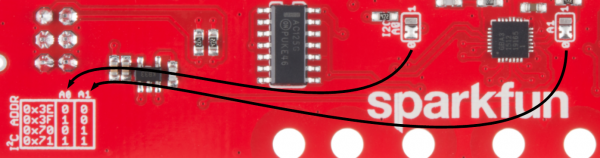
If you need to change the address of the array, move the solder jumper to set A0 and A1. The silkscreen table gives a reference. Seen in the photo, the default address is 0x3E. For example, if you want to use address 0x70, move A1 to the ‘1’ position and leave A0 at ‘0’.
[happyforms id=”5763″ /]
SKU: n/a